
There are a lot of things I didn’t take into consideration when I first started up Girl Eats Greens. The sheer amount of time it takes to test recipes, take photographs, edit/watermark photos, test the recipe again, write up a post, etc. is huge to say the least. I didn’t expect to make money, but there are definitely times when I look at the amount of time and effort I put into it and think “wow, it would be great if I had something monetary or otherwise to show for it.” But I also didn’t expect to discover how much I loved food. Taste testing and being creative with recipes and trying new restaurants and traveling and attending events – like a guac off I’m going to today! – it’s all so much fun. I also didn’t expect to discover a really cool community of people who also love food. I was approached almost a year ago by a new food app that was launching, asking me for contribution of some of my recipes. I will on occasion have people reach out, but for all the reasons I mention above, I’ve generally been hesitant to just hand over my recipes and photos to people or sites that I don’t share a similar vision with. After all, all of the content on this blog, I own. It came from my brain and my hard work. It’s hard to just hand it over to someone else.
But when I talked to the SideChef community manager about their app, about their vision, I couldn’t help but get excited. These people got me! (If you don’t have the app, it’s a great step-by-step guide for making recipes. It has timers, directions, and it talks to you – you don’t have to get your hands dirty). Before I was making my own recipes, I often propped up my phone or my iPad in the kitchen and tried to follow along – but inevitably the phone would lock and I’d risk getting it all dirty unlocking and navigating to the next step. Needless to say, I completely bought into their idea and gladly handed over some of my favorites.
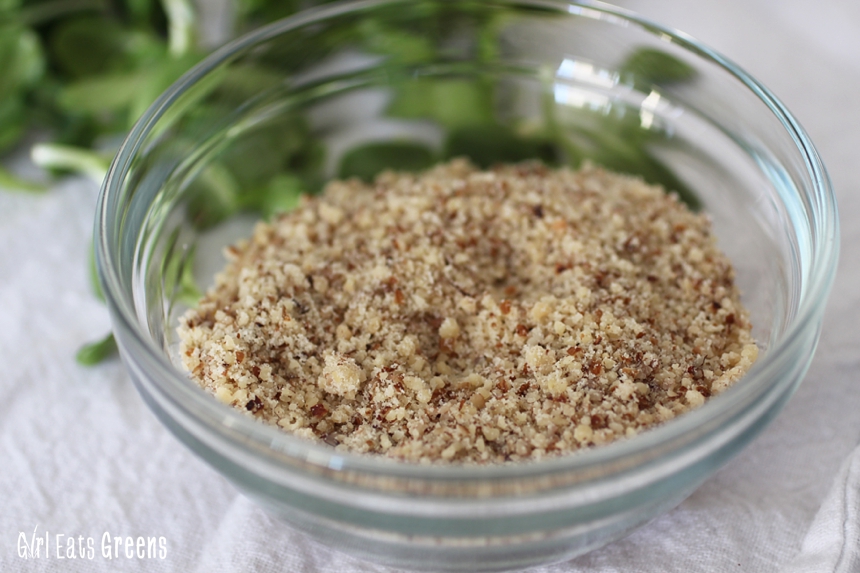
As they’ve grown, it’s been a really cool process to see. To actually log in and see people rating and commenting on my recipes, to see them taking pictures of the recipes they’ve tried, it’s a really cool experience. And one of the perks I didn’t expect when I signed up with them was surprise packages in the mail. I got one around the holidays with a lot of cool swag, including a tote bag that I use to get groceries. But recently, I got one that came with a package of Bob’s Red Mill hazelnut meal/flour. It came at the perfect time because I was really struggling with finding an inspiration for a new recipe. Often, seeing a new ingredient at the farmer’s market or grocery store will inspire me. This time, I didn’t even have to leave the house!
I spent days thinking about what to do with the hazelnut meal. I talked to friends over dinner and drinks one night who convinced me that hazelnuts were actually more woodsy flavored than I was thinking. I thought the easy thing to do with them would be to bake them into a cookie or something. But who wants to go the easy route? So I thought savory was the best way to turn the hazelnut meal into something that’s totally unexpected. And that’s just what I did. Spiced Hazelnut Crusted Tofu was born!
I knew I wanted to model the crust for the tofu off of my favorite pumpkin crusted tofu that I make for Thanksgiving, which is really simple and flavorful. But I wasn’t entirely sure what spices to put with the hazelnuts. I Googled around for spices and hazelnuts and came across a great recipe from the James Beard website for spiced roasted hazelnuts. So I took their lead, added a bit of garlic, and had the perfect spice combo for the crust.
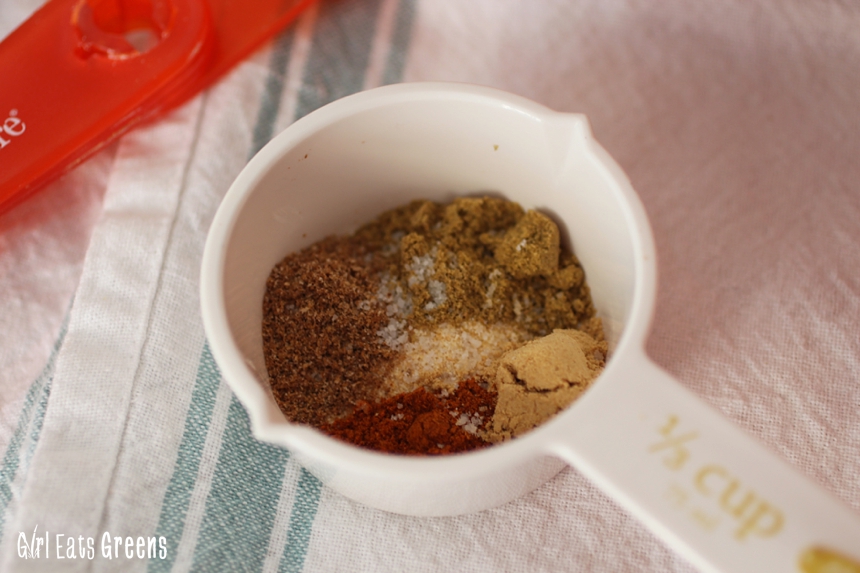
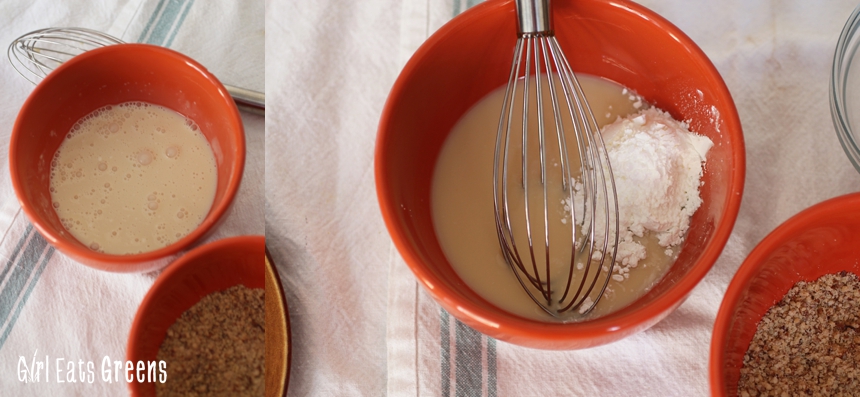
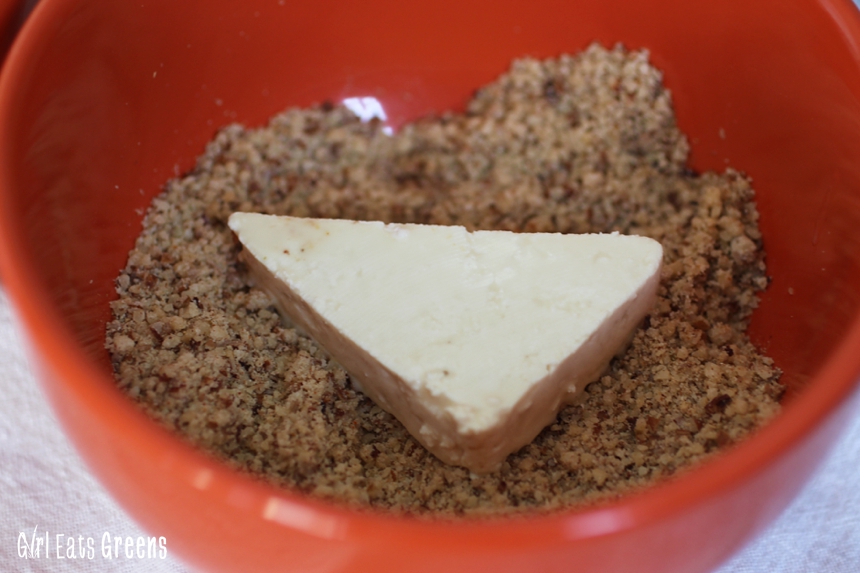
If you’ve never crusted tofu before, it’s not as intimidating as it may sound. I promise. All you need to do is have your tofu really pressed to remove as much water as possible (be patient with this part) and then you need a combo of something wet to dip it in and whatever you want the crust to be. In this case, I went with a light coconut milk and agave dip (thickened with some cornstarch), and the hazelnut meal with ginger, cumin, garlic, cayenne, and coriander spices.
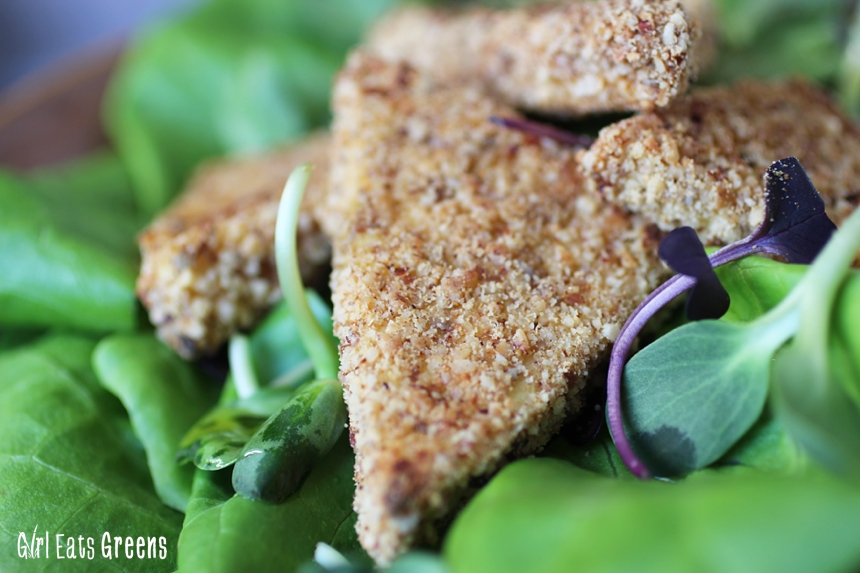
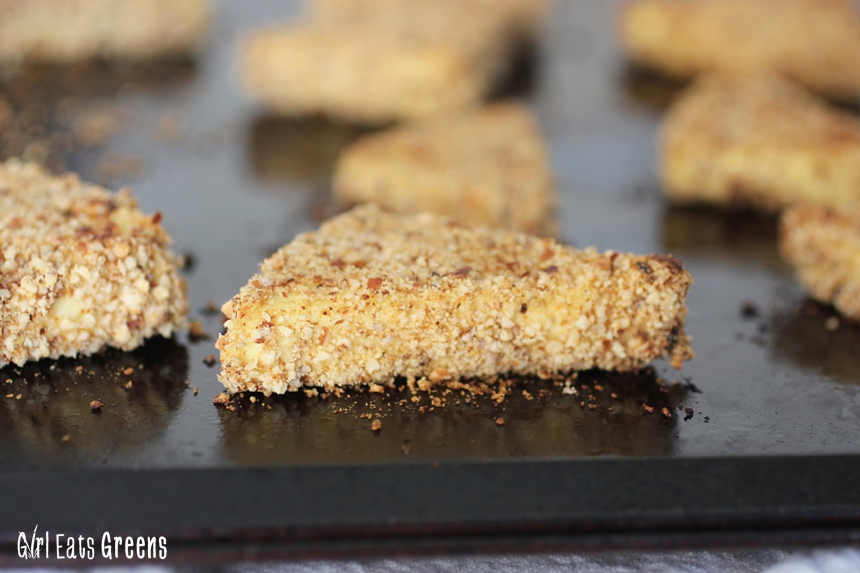
You could fry or bake, I prefer to bake. The crust is a great crispy outside and the tofu has a delicious kind of spongey inside when it’s baked. I rarely make tofu or any meat-type substitute the main event of a dish. I tend to use it as an addition to a bowl or as an ingredient in recreating cheese, but this tofu really stands on it’s own.It has a bit of sweet and spice, which will confuse and delight your tastebuds. Of course, it doesn’t taste like chicken for all you meat-eaters out there, but it has so much flavor you won’t even mind it doesn’t come from an animal.
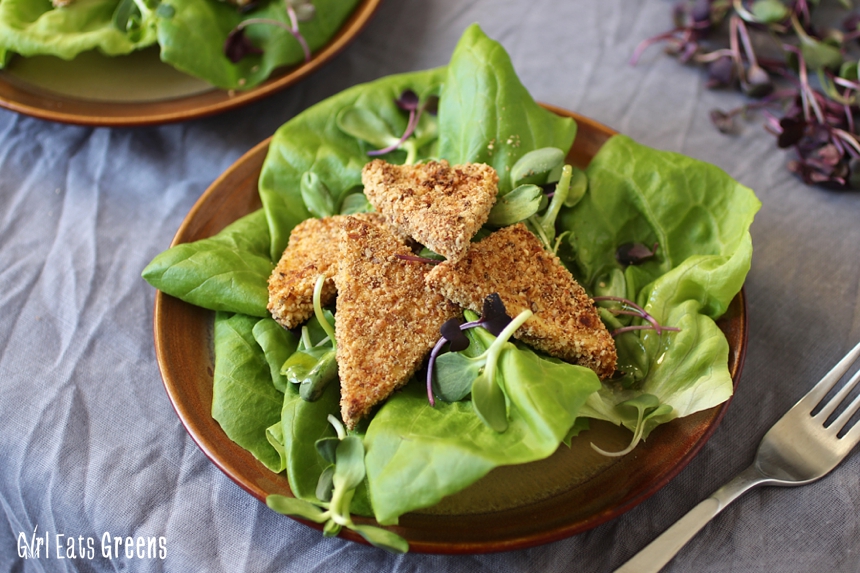
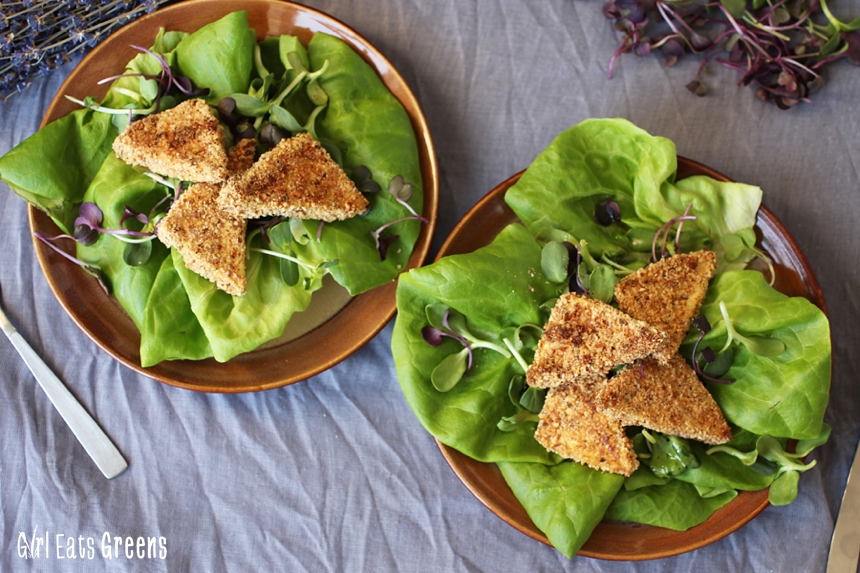
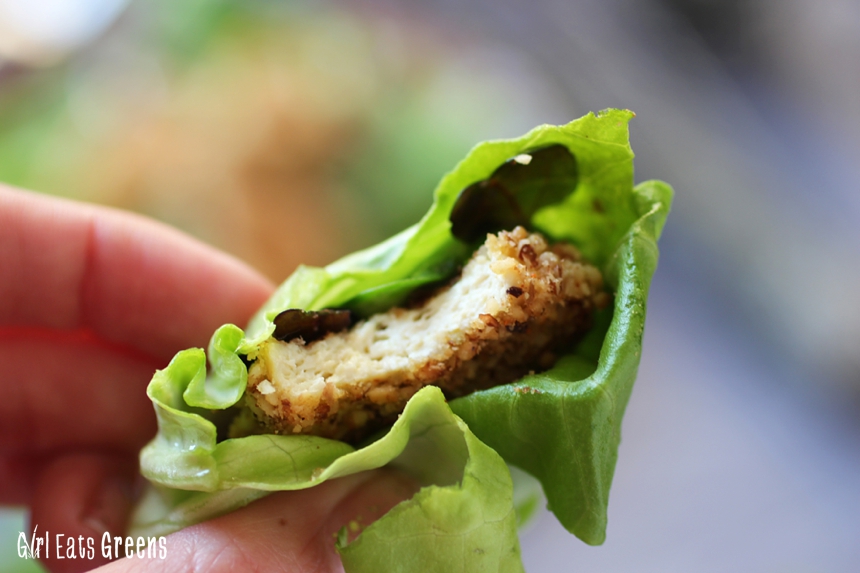
I chose to put it over a salad with a simple olive oil and vinegar dressing, but then realized it was even better wrapped in lettuce. I recommend either way. Wrapped in large lettuce leaves with radish sprouts, or cut up like giant crutons on the salad. Or served with a side of mashed potatoes and greens. Your call. However you end up serving these, you won’t be disappointed!
Spiced Hazelnut Crusted Tofu
What You’ll Need:
- 1 block tofu, drained and pressed for 30 minutes
- 3/4 cup hazelnut meal/flour
- 1/4 cup plus 2 tablespoons light coconut milk
- 2 tablespoons agave syrup
- 2 tablespoons cornstarch
- 1/2 teaspoon garlic powder
- 1/2 teaspoon cumin
- 1/2 teaspoon coriander
- 1/2 teaspoon ground ginger
- 1/8 teaspoon cayenne pepper
- dash salt
What You’ll Do:
- Drain the tofu between paper towel or a kitchen towel under a heavy pan or book for at least 30 minutes
- Cut tofu into squares or triangles and preheat the oven to 375 degrees and lightly grease a baking sheet (I used a spray olive oil for this)
- In one bowl, mix the wet ingredients with cornstarch – the coconut milk, agave syrup and cornstarch
- In another bowl, mix the dry ingredients – the hazelnut meal and all the spices
- Using one hand for the wet and one for the dry (yes, this is messy) take one slice of tofu at a time, drop it in the wet bowl, flip, and then move it to the next bowl and flip until it is coated with the spices and hazelnuts
- Place on the baking sheet and repeat the process until all the tofu is coated
- Bake for 12 minutes, then turn the tofu to the other side and bake an additional 12 minutes
- Optional – for more crispy tofu, turn the oven up to broil and broil for 3 additional minutes
- Serve over salad, in a lettuce wrap, or however you choose. Enjoy!

Now this is a tofu I need to try!
🙂 Please do!
Pingback: Grain Free Coconut Energy Bites | Girl Eats Greens·
Divine creation! Wonderful in the palate too! Loved it! x